Introduction
The «purist» way to apply film simulations is doing so in camera, either by shooting JPEG, or by shooting RAW and then processing them using the in-camera convert feature. The second-best way is to use Fujifilm X RAW Studio on your computer.
Unfortunately, short of the newest feature — only present on the X-Pro3 as of Autumn 2019 — of creating TIFF files, both these ways create JPG-compressed images that do not retain the fullest quality of the RAW files and that thus are not ideal for further post-processing, perhaps for local adjustments or for geometry corrections that are not possible with the above mentioned methods.
I hereby suggest a method of creating images with a higher-than-maximum level of JPG quality, albeit at the expense of a slightly more complex workflow. However, keeping in mind that the need for a less compressed image stems from the need for further post processing, and that therefore at least one passage on Photoshop was planned, having to open the post-processing software should not come as a too big bother.
The method
Basically, either in-camera or with X RAW Studio, I create three (any number larger than just one would yield benefits) JPGS from one RAW; however, in order to get slightly different files every time, I introduce tiny variations in the recipe. The idea is then to merge these files in photoshop so to reduce the tiny JPG artefacts by averaging them.
One example
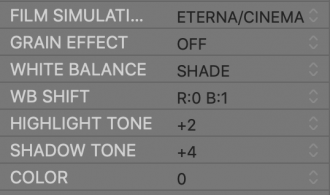
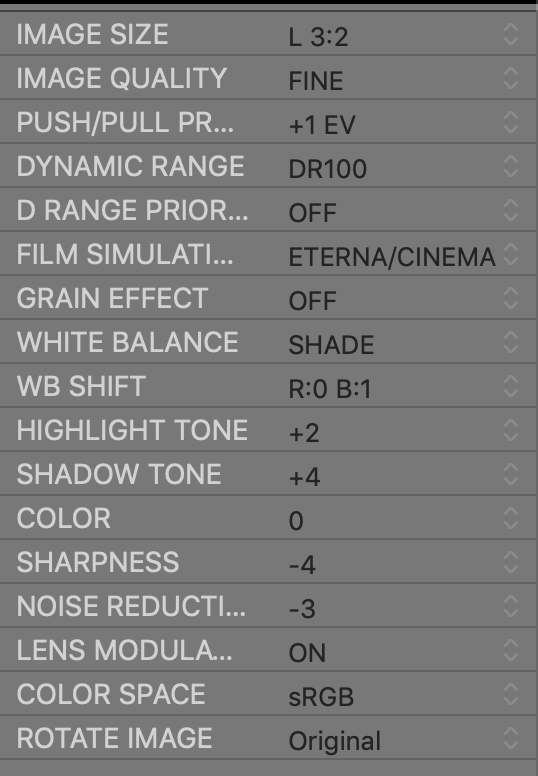
Let’s say that I find a recipe that I like and that the recipe is the following:
The above recipe would create the following image: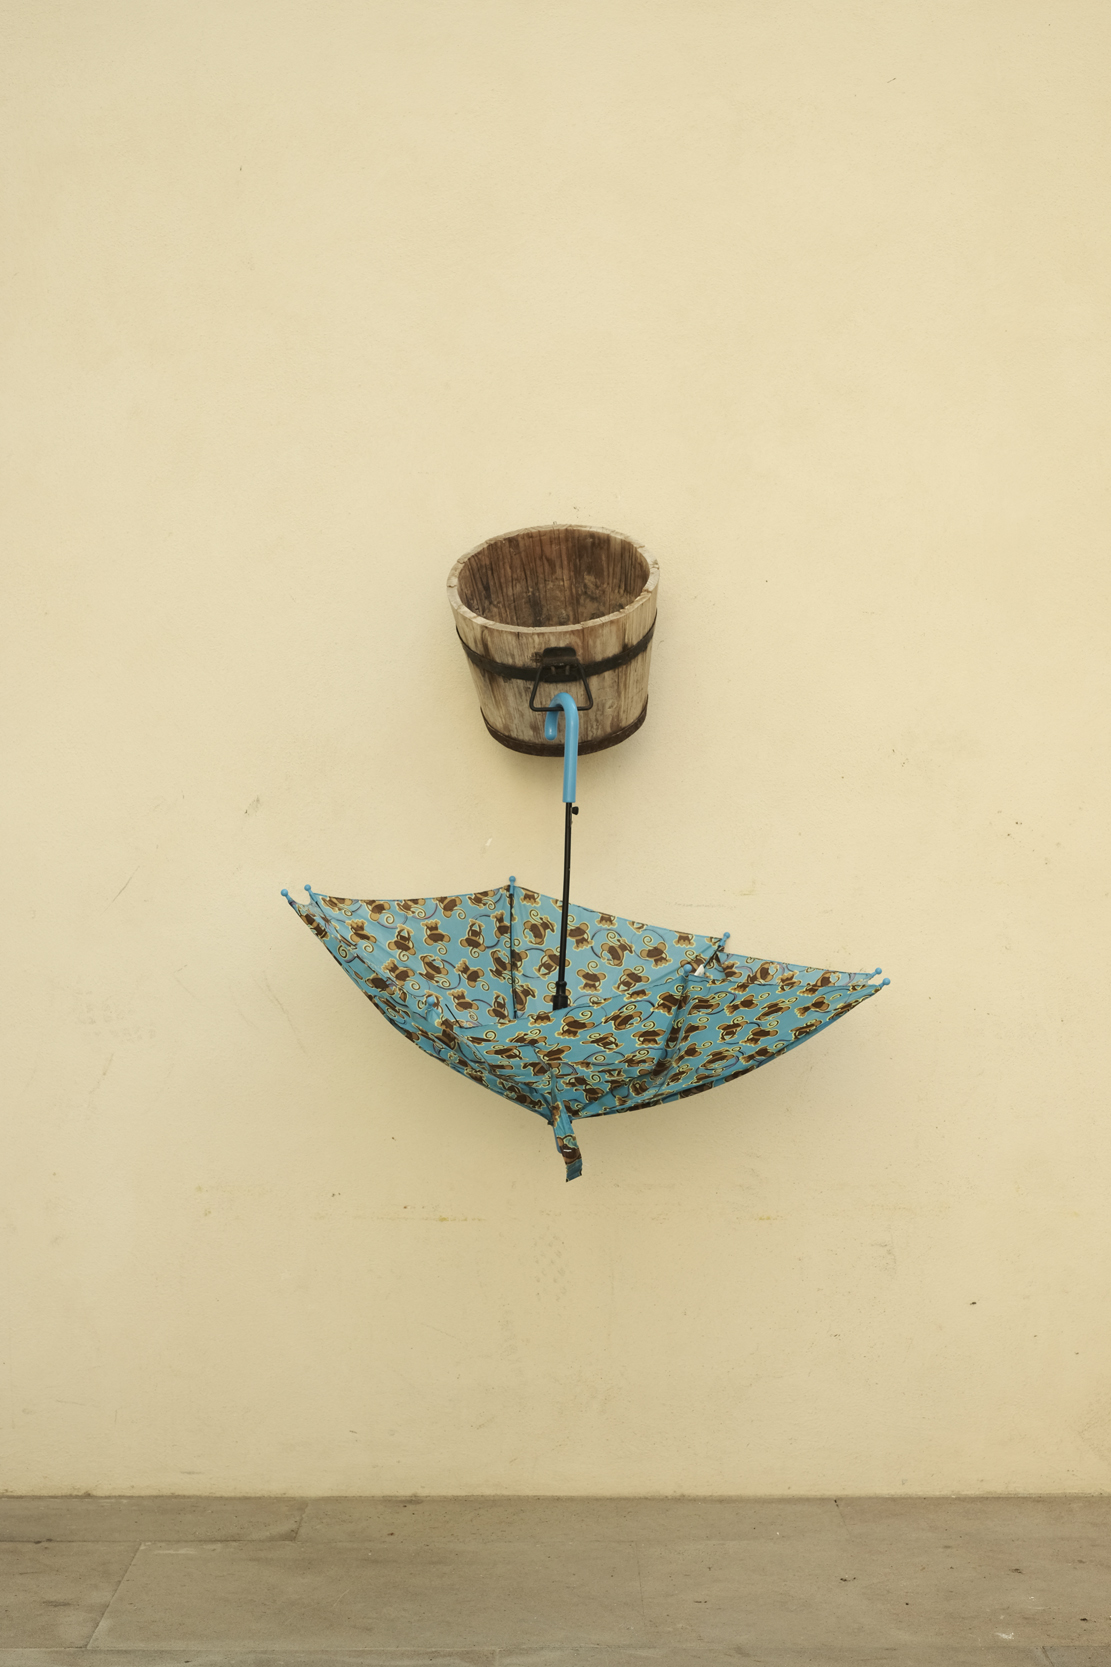
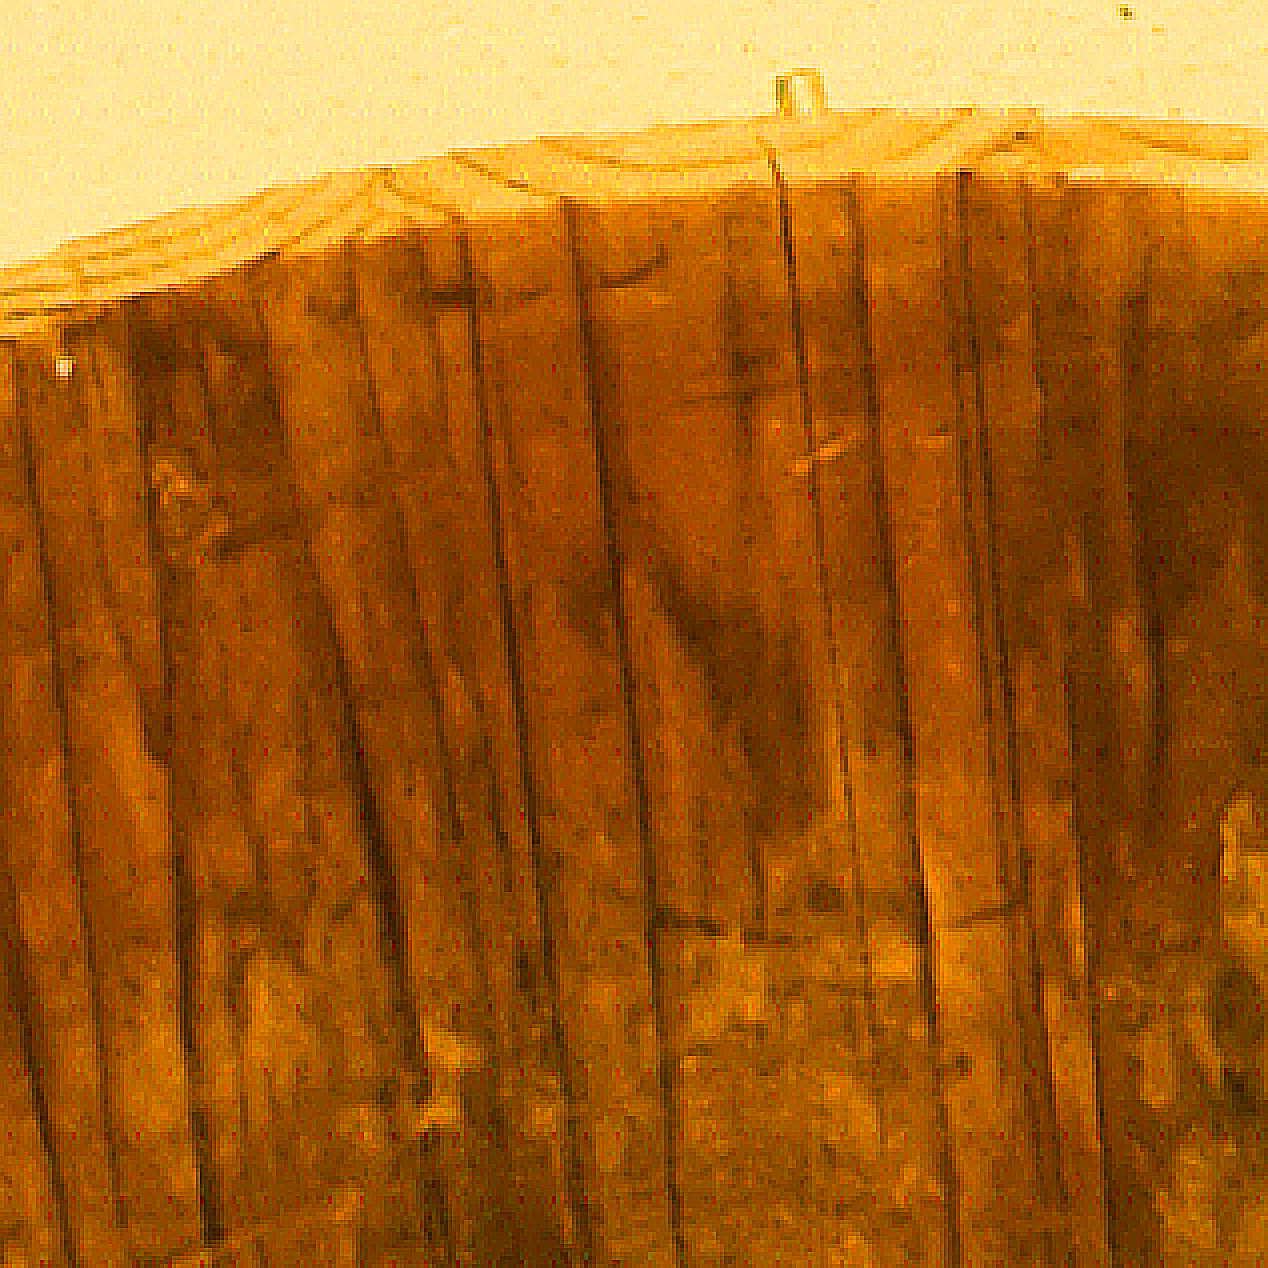
Obviously the image is clean and good, therefore if I want to show the tiny-yet-present JPG compression artefacts, I will:
- enlarge a detail
- apply a strong unsharp mask
- increase saturation to the maximum
All this would produce: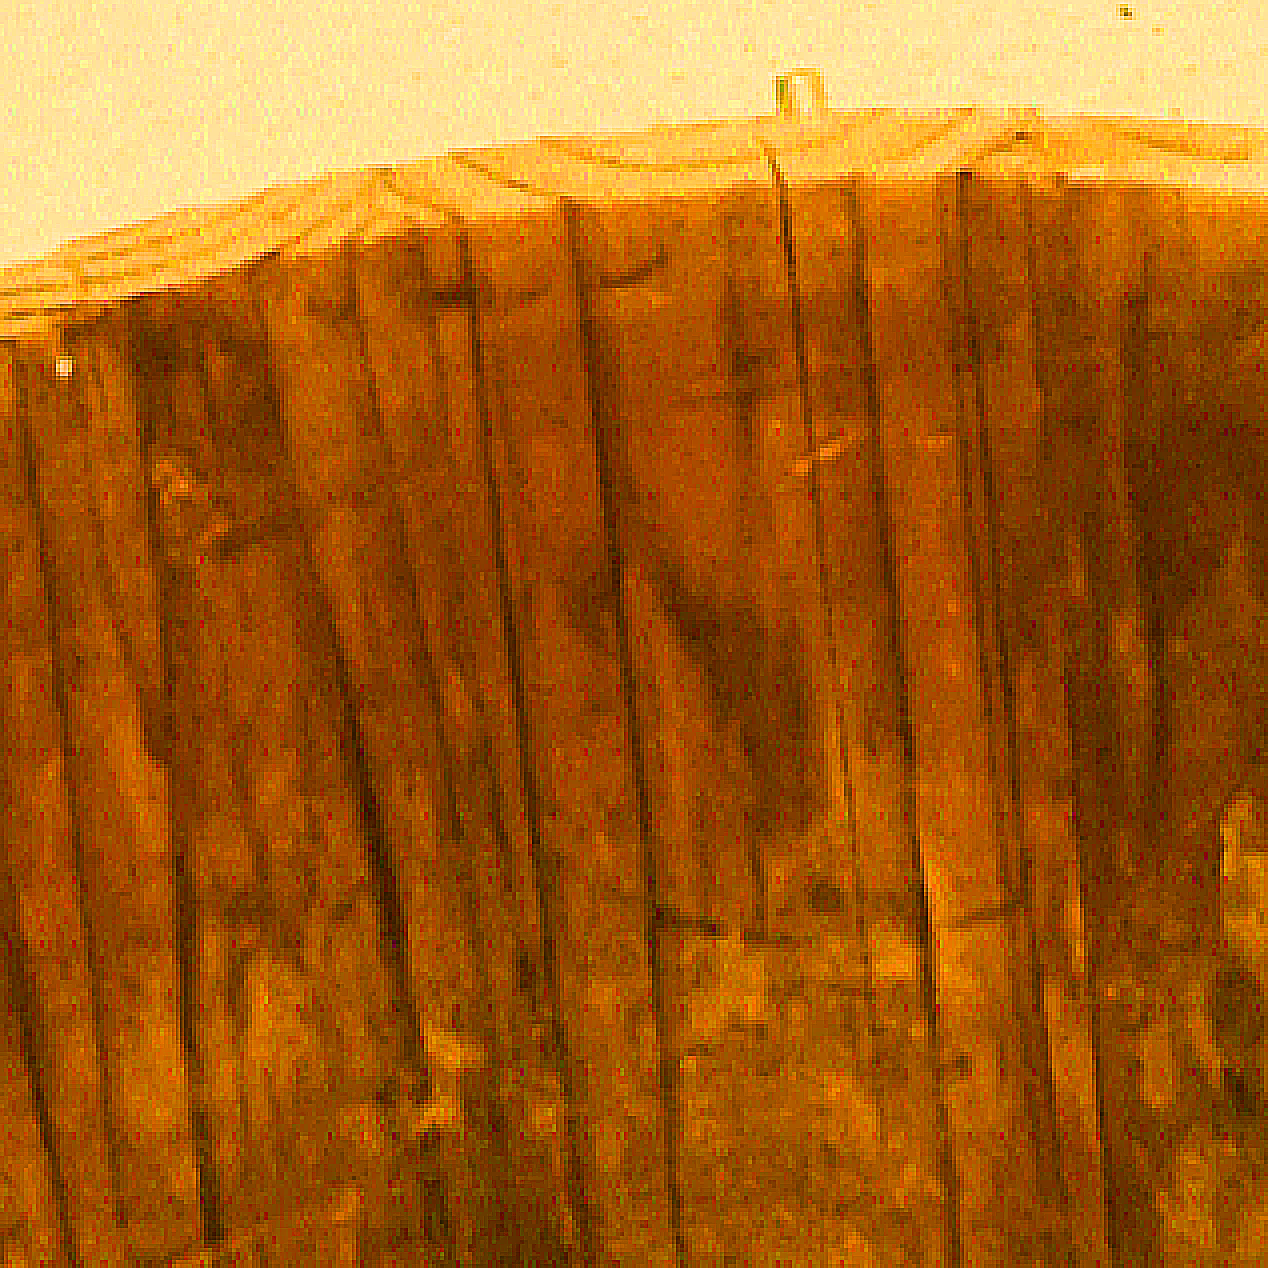
Now, if I want to reduce these artefacts, I will go back to either the camera or X RAW Studio and create two more files with two slightly modified recipes:

The results are so similar that it is not worth showing them again. However, what is worth showing is a detail of the result that I get if I apply the same unsharp mask and saturation increase to an image obtained by merging the three images with Photoshop, averaging them (100% the bottom layer, 50% the second, 33% the third):